The Building Process
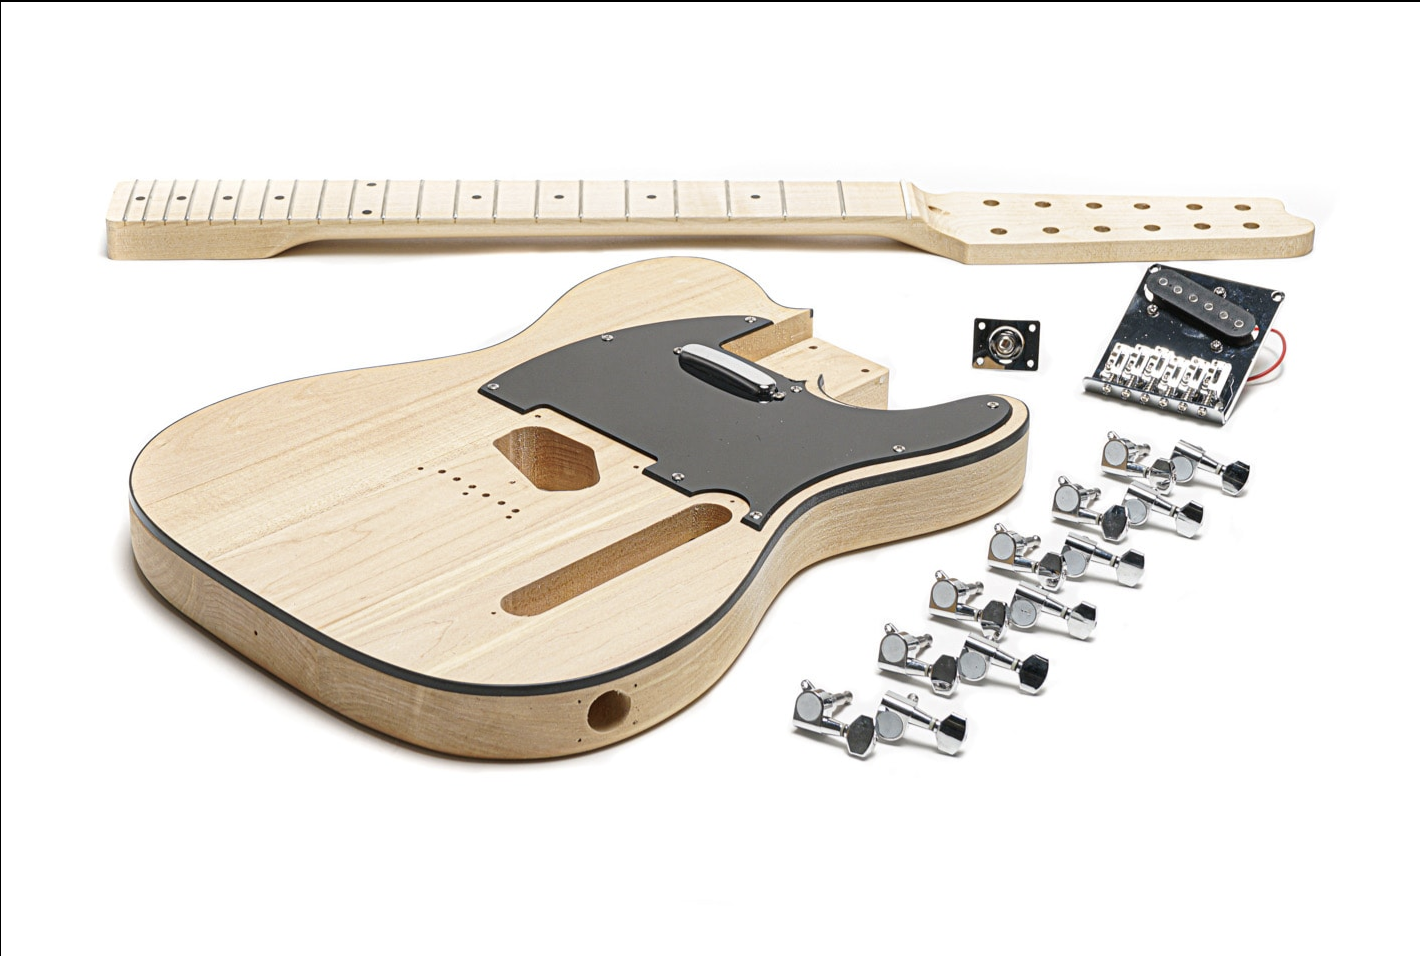
Although I've built several guitars from kits, I've never played let alone built a 12 string guitar. The kit I chose is the Solo TCK-12 DIY 12 String Electric Guitar Kit. This is the sixth guitar kit I've built from Solo Music Gear. One of the things I like about Solo kits is that they provide lots of kit options where the headstock is already shaped. I've messed up a few of those in the past because I lack the tools to shape them effectively. I normally will upgrade parts like the tuning machines and pickups when I build a guitar kit because I've had bad luck with them in the past. This time around the only thing I'm going to upgrade up front is the strings because guitar kit strings are always garbage. I'm not going to walk through each of the individual steps because that kind of documentation is super time consuming.

Getting Started

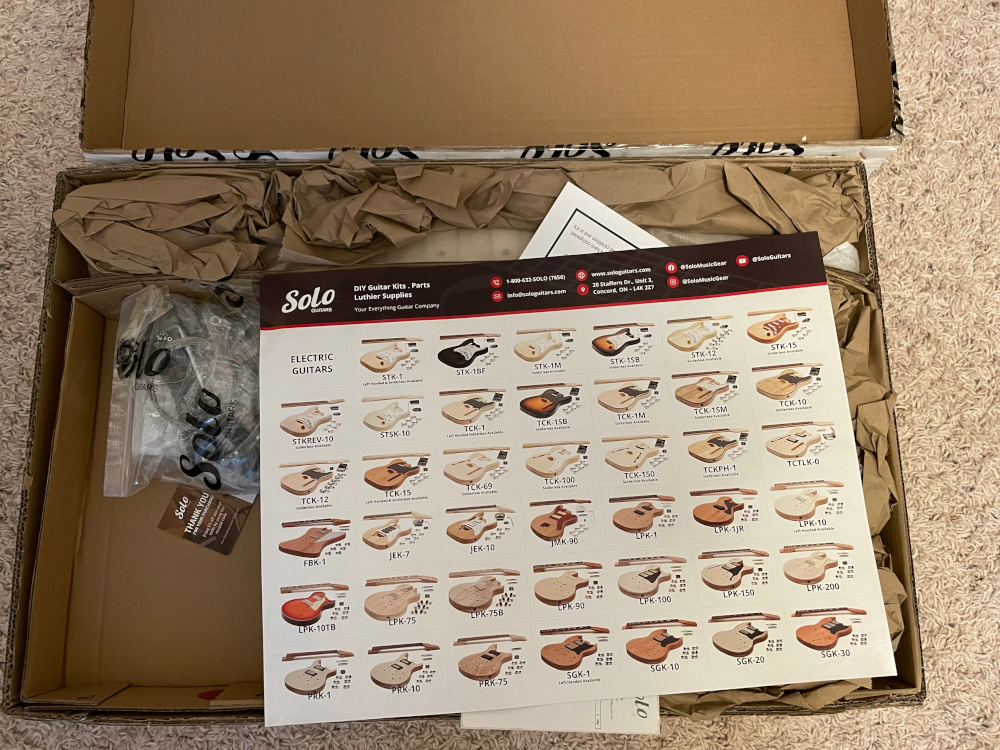
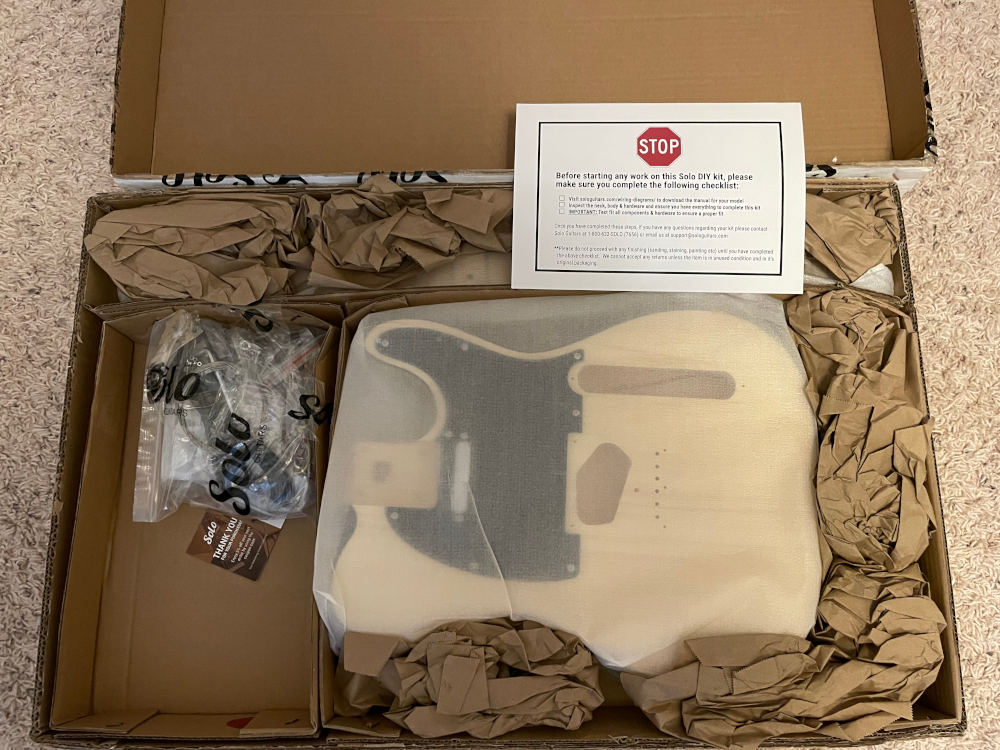
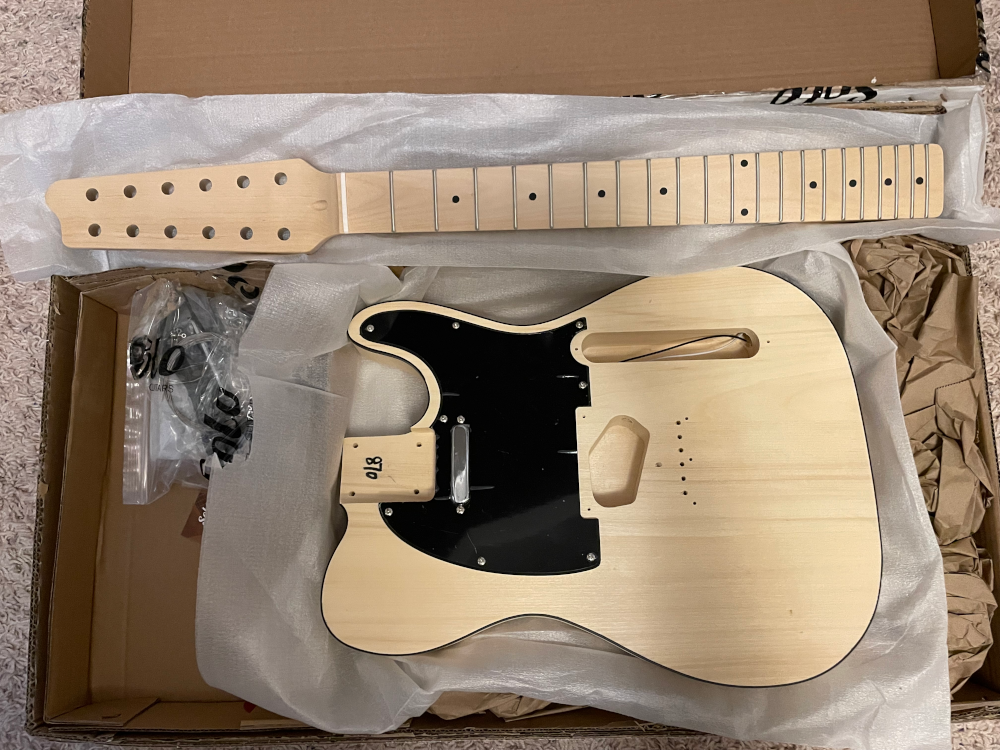
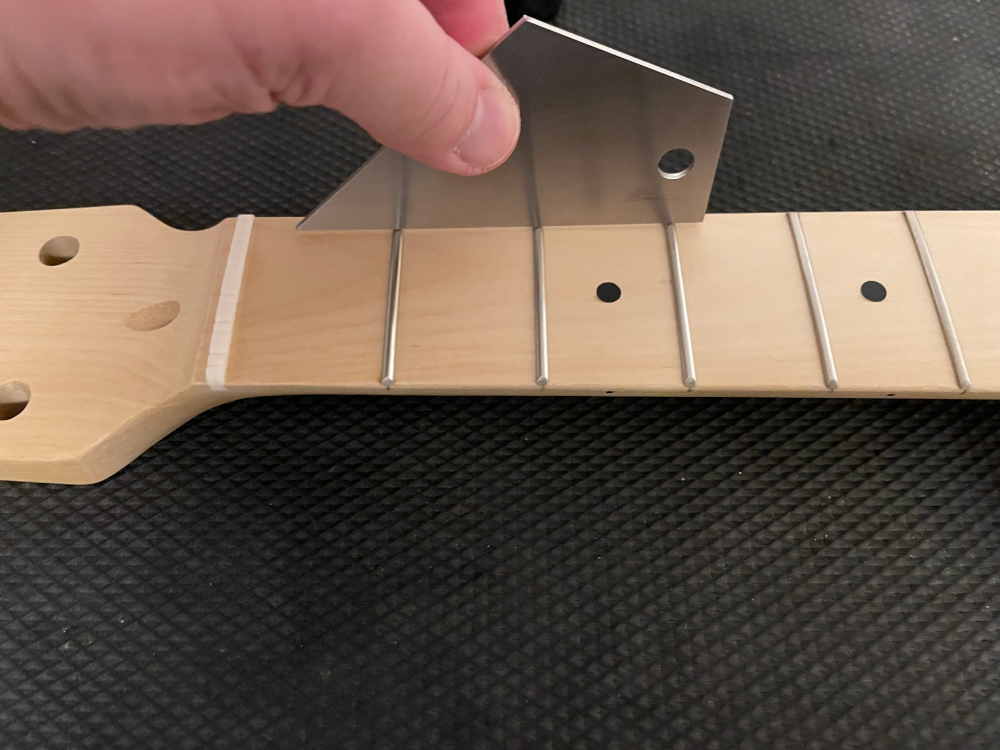
The first thing I typically do with a new guitar kit is to ensure the frets are good. The tool I'm using in this picture is called a fret rocker. Part of making guitars play well without buzzing, The frets need to be level and rounded on top. First you'll need to ensure that the neck is strait. The fret rocker is held so that it touches three frets at a time and you rock it back and forth. If the frets aren't level, you will hear a knocking noise. If you hear the noise, you'll need to level them out. In the case of this guitar the frets were fine so I'm not going to go into here how to fix that.
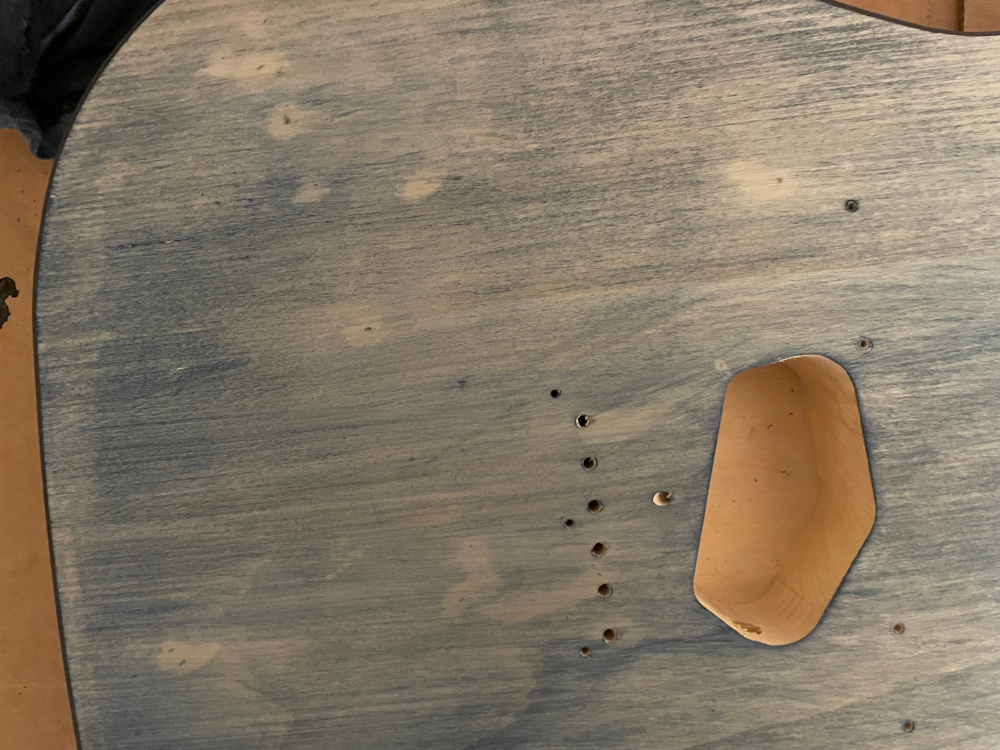
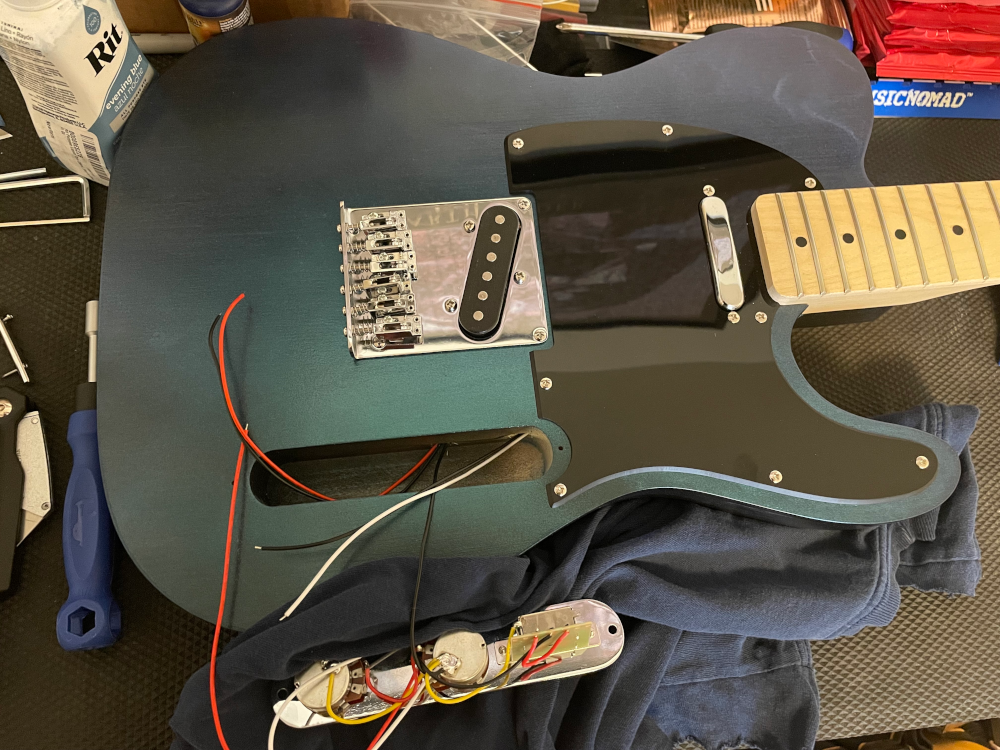
The original finishing plan was to use a Rit dye that I already had on hand to save some money. The guitar body comes with a primer/sealer so that the body doesn't crack during shipping. Solo Music is a Canadian company out of Ontario so this important especially since I bought this in December for Christmas gift for myself. The guitar body has a veneer top to provide attractive grains so that if a transparent finish is applied the wood grain pattern is pulled out. The issue I ran into is pretty obvious; just look at those spots where the dye wouldn't adhere. Those spots are places where the glue that holds the veneer to the wood seeps through. Finishes like die and oil won't stick to that. Once I saw that I knew that I would need to paint it. I am not good at spray painting and I pretty much just accept the flaws when they pop up because it won't be perfect, although I'm getting better at it.

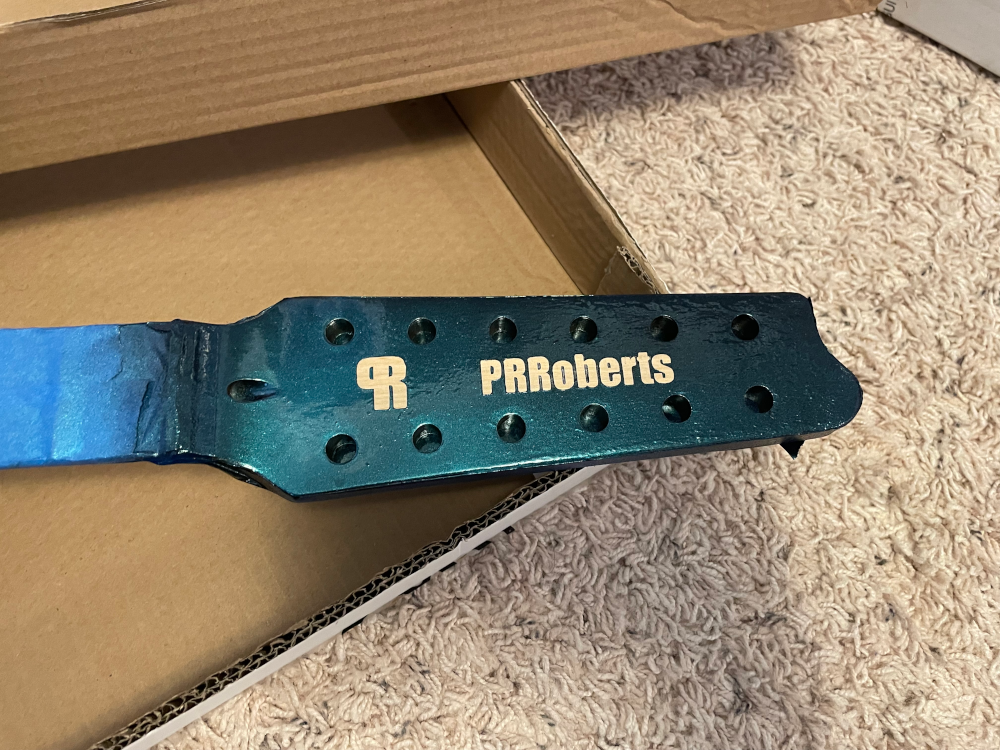
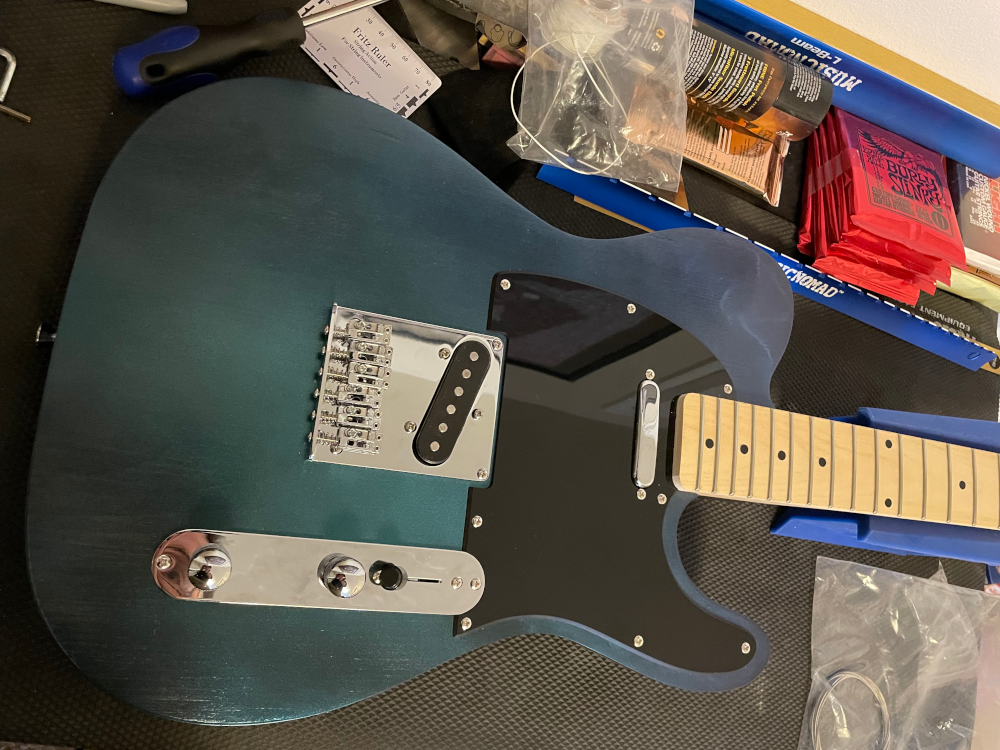
After the Rit dye failed I decided to go to the store and find a spray paint. While there I saw this cool color shifting spray paint. I began by sanding off the dye. I then jumped strait into spray painting the headstock, but quickly realized I had a problem because it didn't look like what was on the spray can. I looked down and saw that the color shifting paint required a black base coat. Thankfully I had some left over black spray paint from a previous guitar. As you scroll down you will see how the color changes based on the angle light hits the paint. I'm not very good at spray paint so I just kind of accept how it comes out without worrying about imperfections.
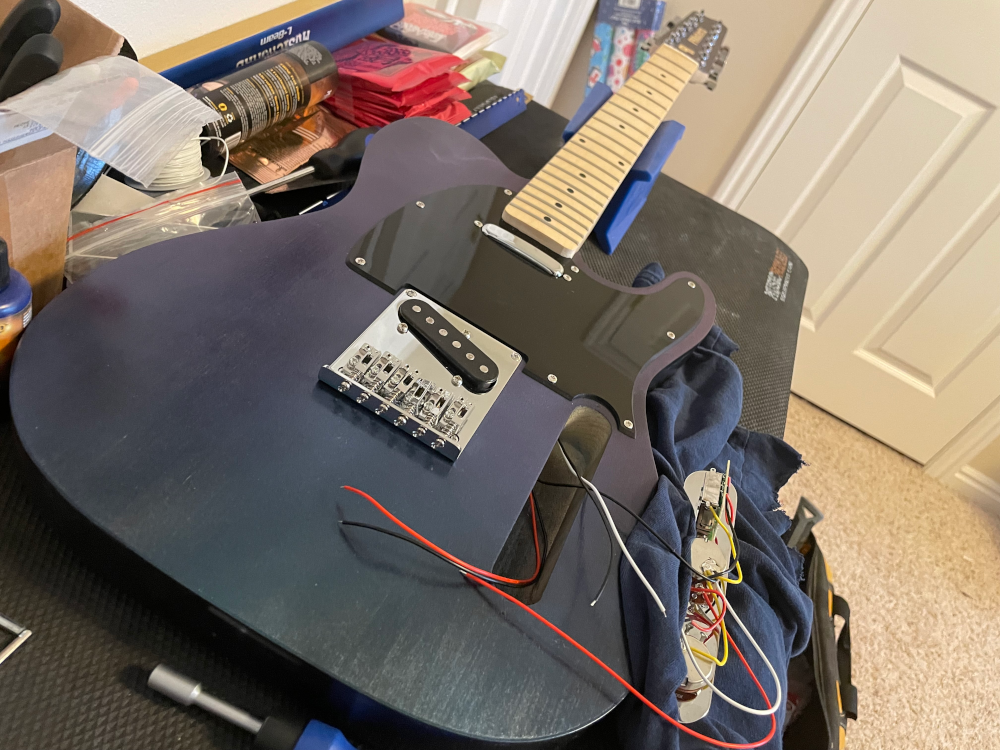
Below you can see with this particular kit that there weren't a lot of soldering points, but there are a number of them. If you look closely you may notice the cheap pcb board three way switch. My plan is to swap this out for a quality mechanical switch. I'm also planning to swap out the output jack for a Puretone output jack and new pickups. I haven't settled on a particular set up pickups, but I'm leaning toward a set of Guitar Fetish pickups. I have bought three different sets of Guitar Fetish pickups before and I've been super happy with all of them.
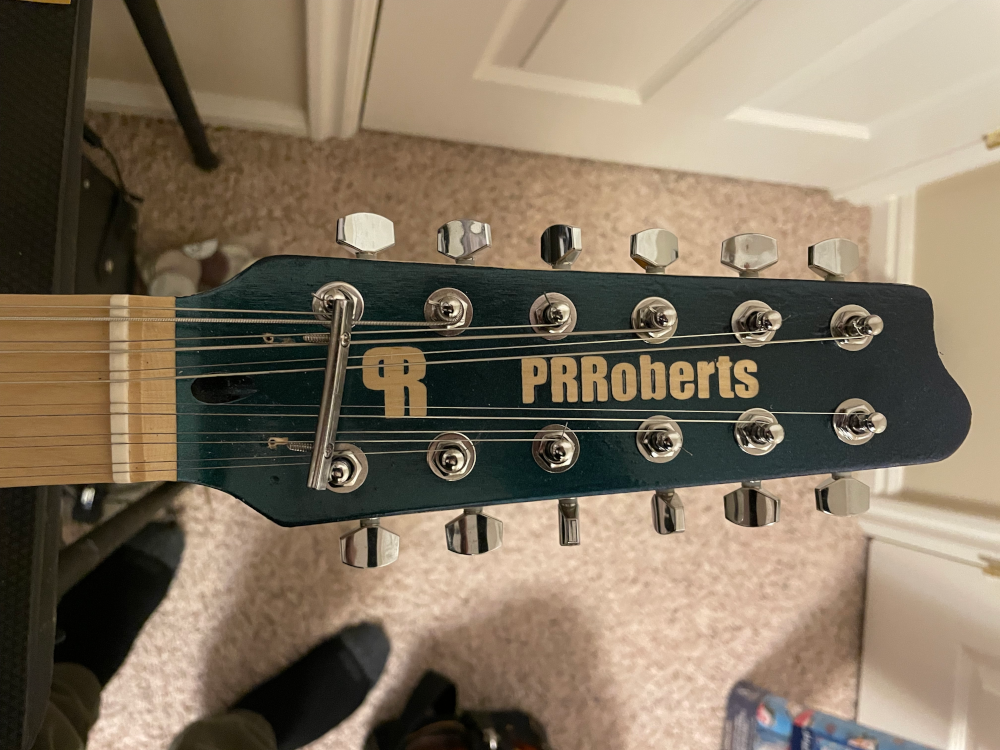
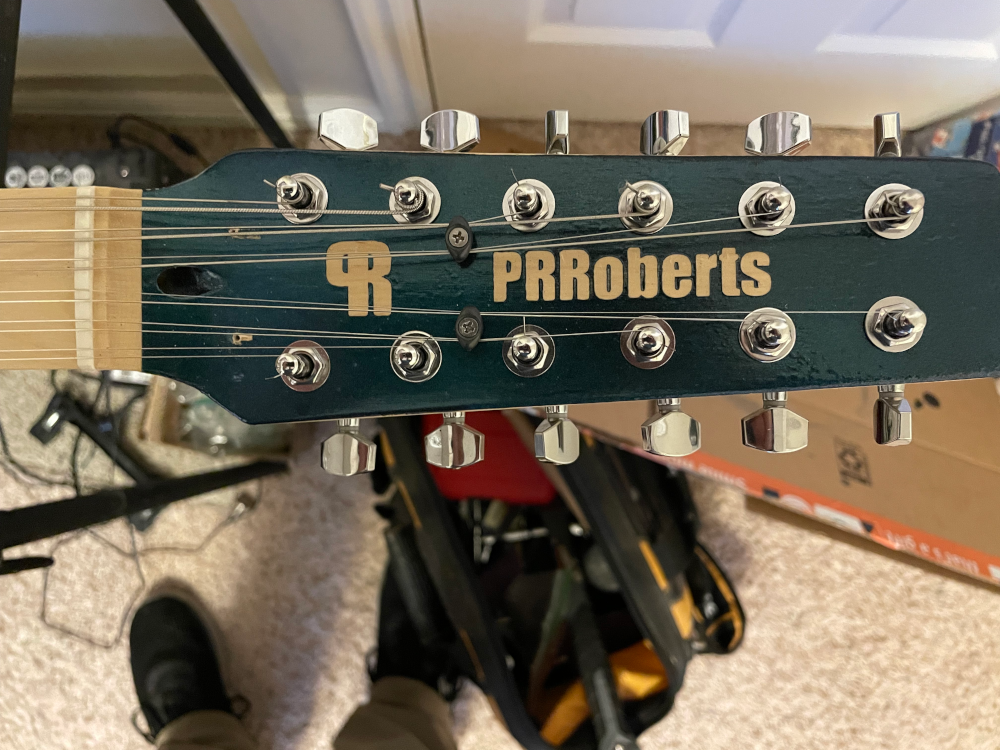
I want to call out an issue I ran into in the pictures below. In the picture on the left you will see a bar with a couple of screws. This is a retaining bar that is meant to hold down the strings because the natural break over angle isn't very big. Before I could get the strings fully installed and tuned up the screws ripped out of the holes because of the intense pressure the 12 guitar strings put on them. After the first time they ripped out I screwed them in further and retried. This didn't work however. They just ripped out again. In the picture on the right you will see my solution. I bought a set of graph tech string trees. I am concerned that the strings will have too much friction and at some point they will break, but I'll cross that road when I come to it. I'm also not going to do anything to fill the ripped out holes and repaint.
To me it's not worth the time and effort. If I was building this guitar for someone else I might feel differently about it. I did consider not putting string trees on it to avoid more holes in the headstock, but when I started playing it strings kept popping out of their slots in the nut.
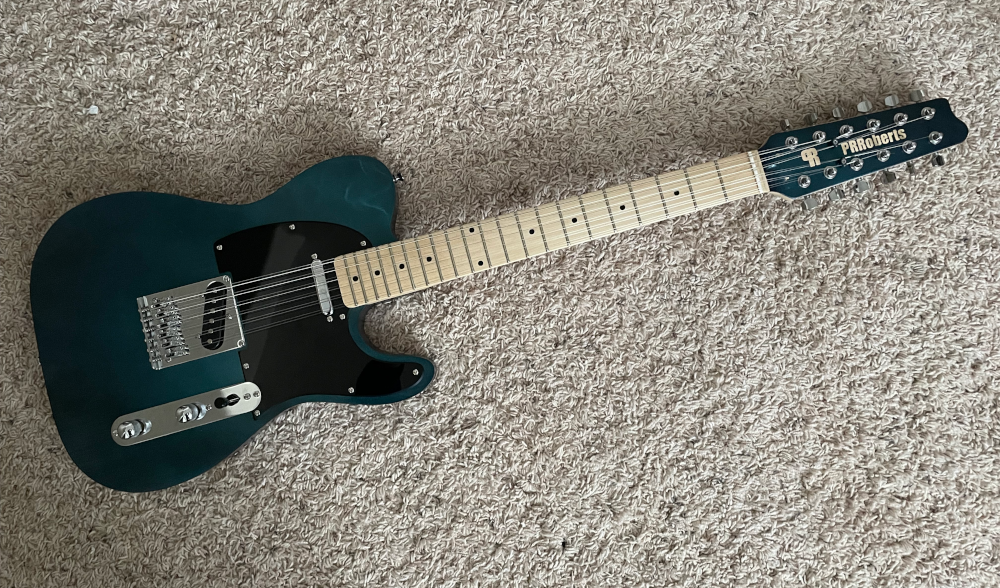
Here you will see the finished, assembled guitar. There are a few things that I will need to fix here in the near future. Those things will wait for now because it doesn't need immediate action for the guitar to be playable. Besides the electronics that I've already called out previously, I need to do some more work on the nut slots. I can hear rattling when I tune and play the guitar unplugged. I typically fix this by running some high grit sandpaper in the slot to open it up a bit more. I know there are tools for this sort of thing, but quality tools for doing that are expensive and I like to build guitars with a budget friendly approach. Also for a little more information on the switch I plan to replace, it is already having issues so I should fix that soon. Over all I've very happy with how it's turned out and I look forward to experimenting with my first 12 string guitar.
